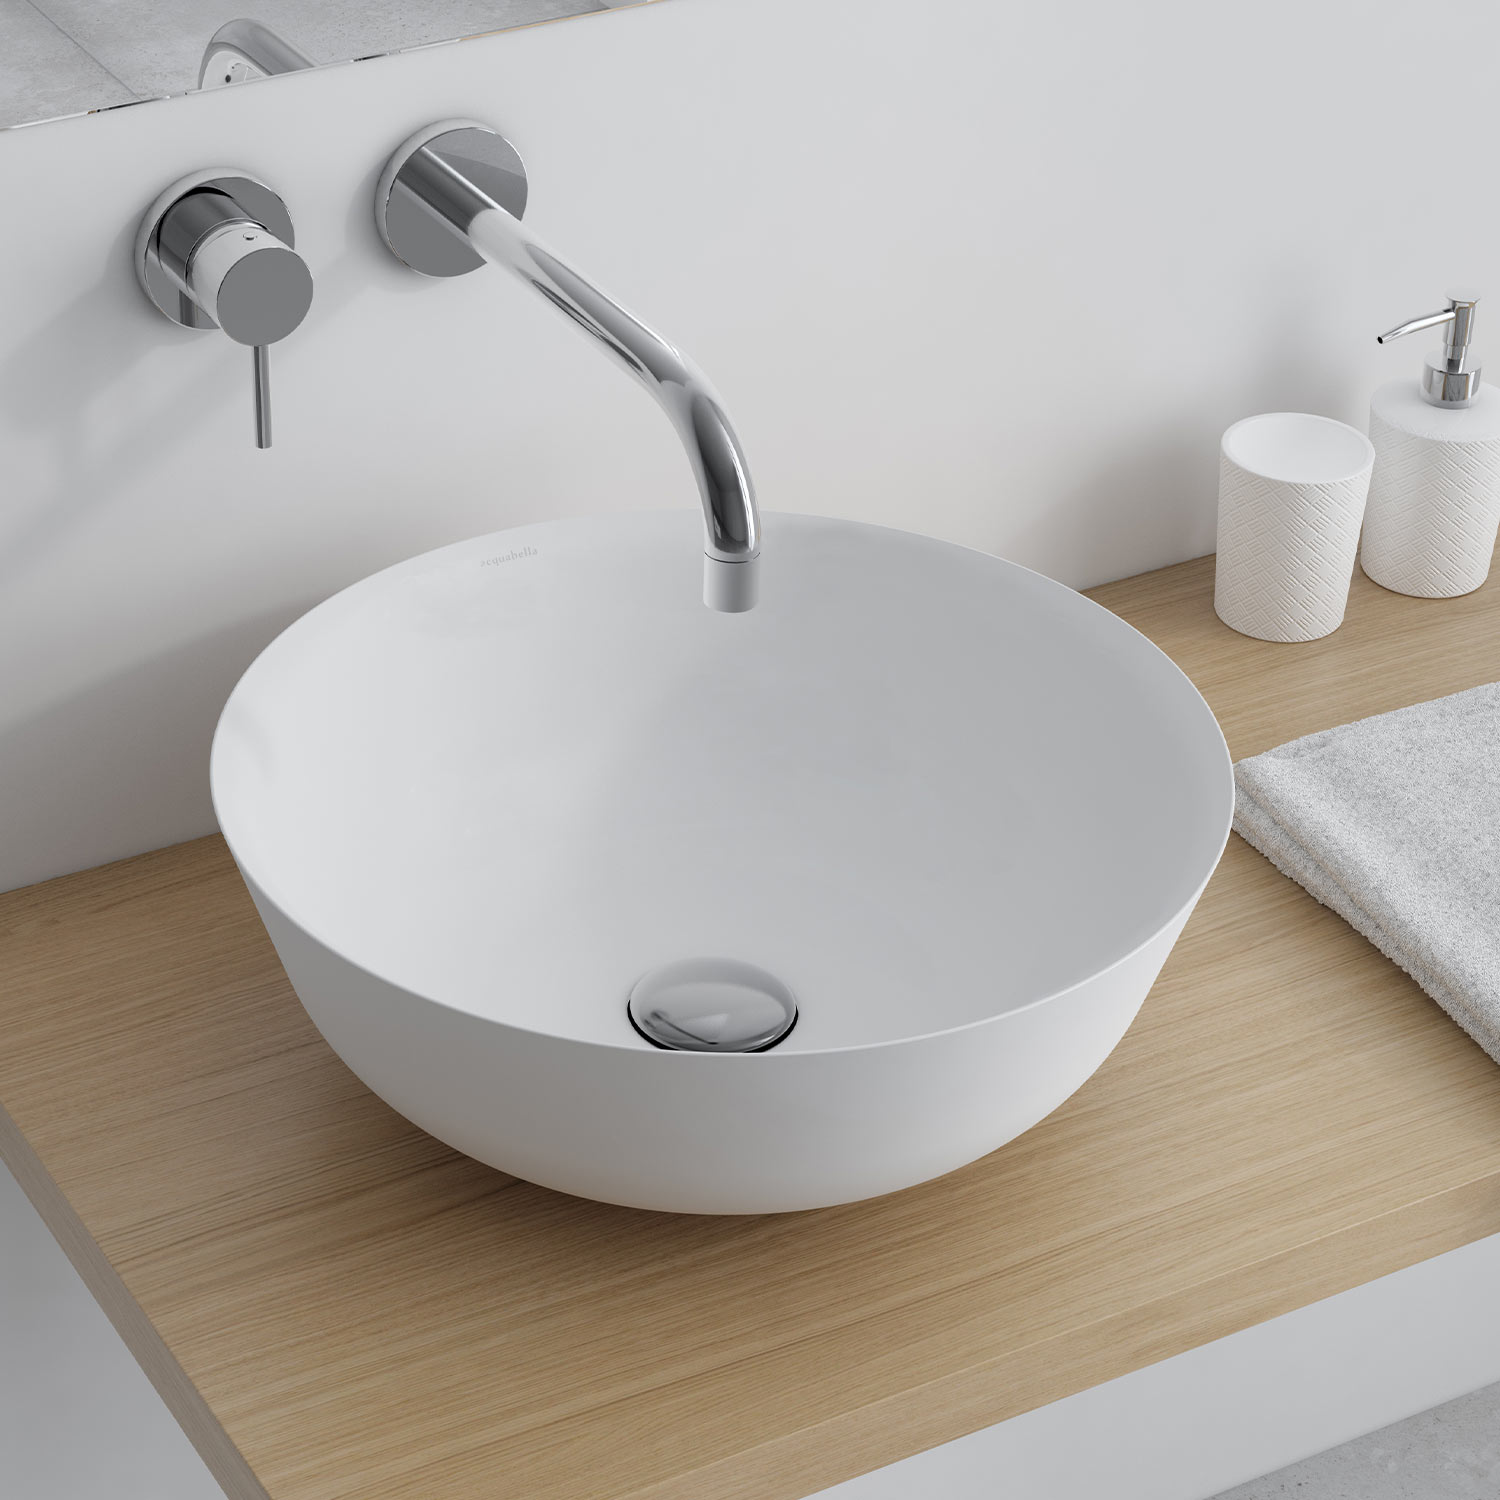
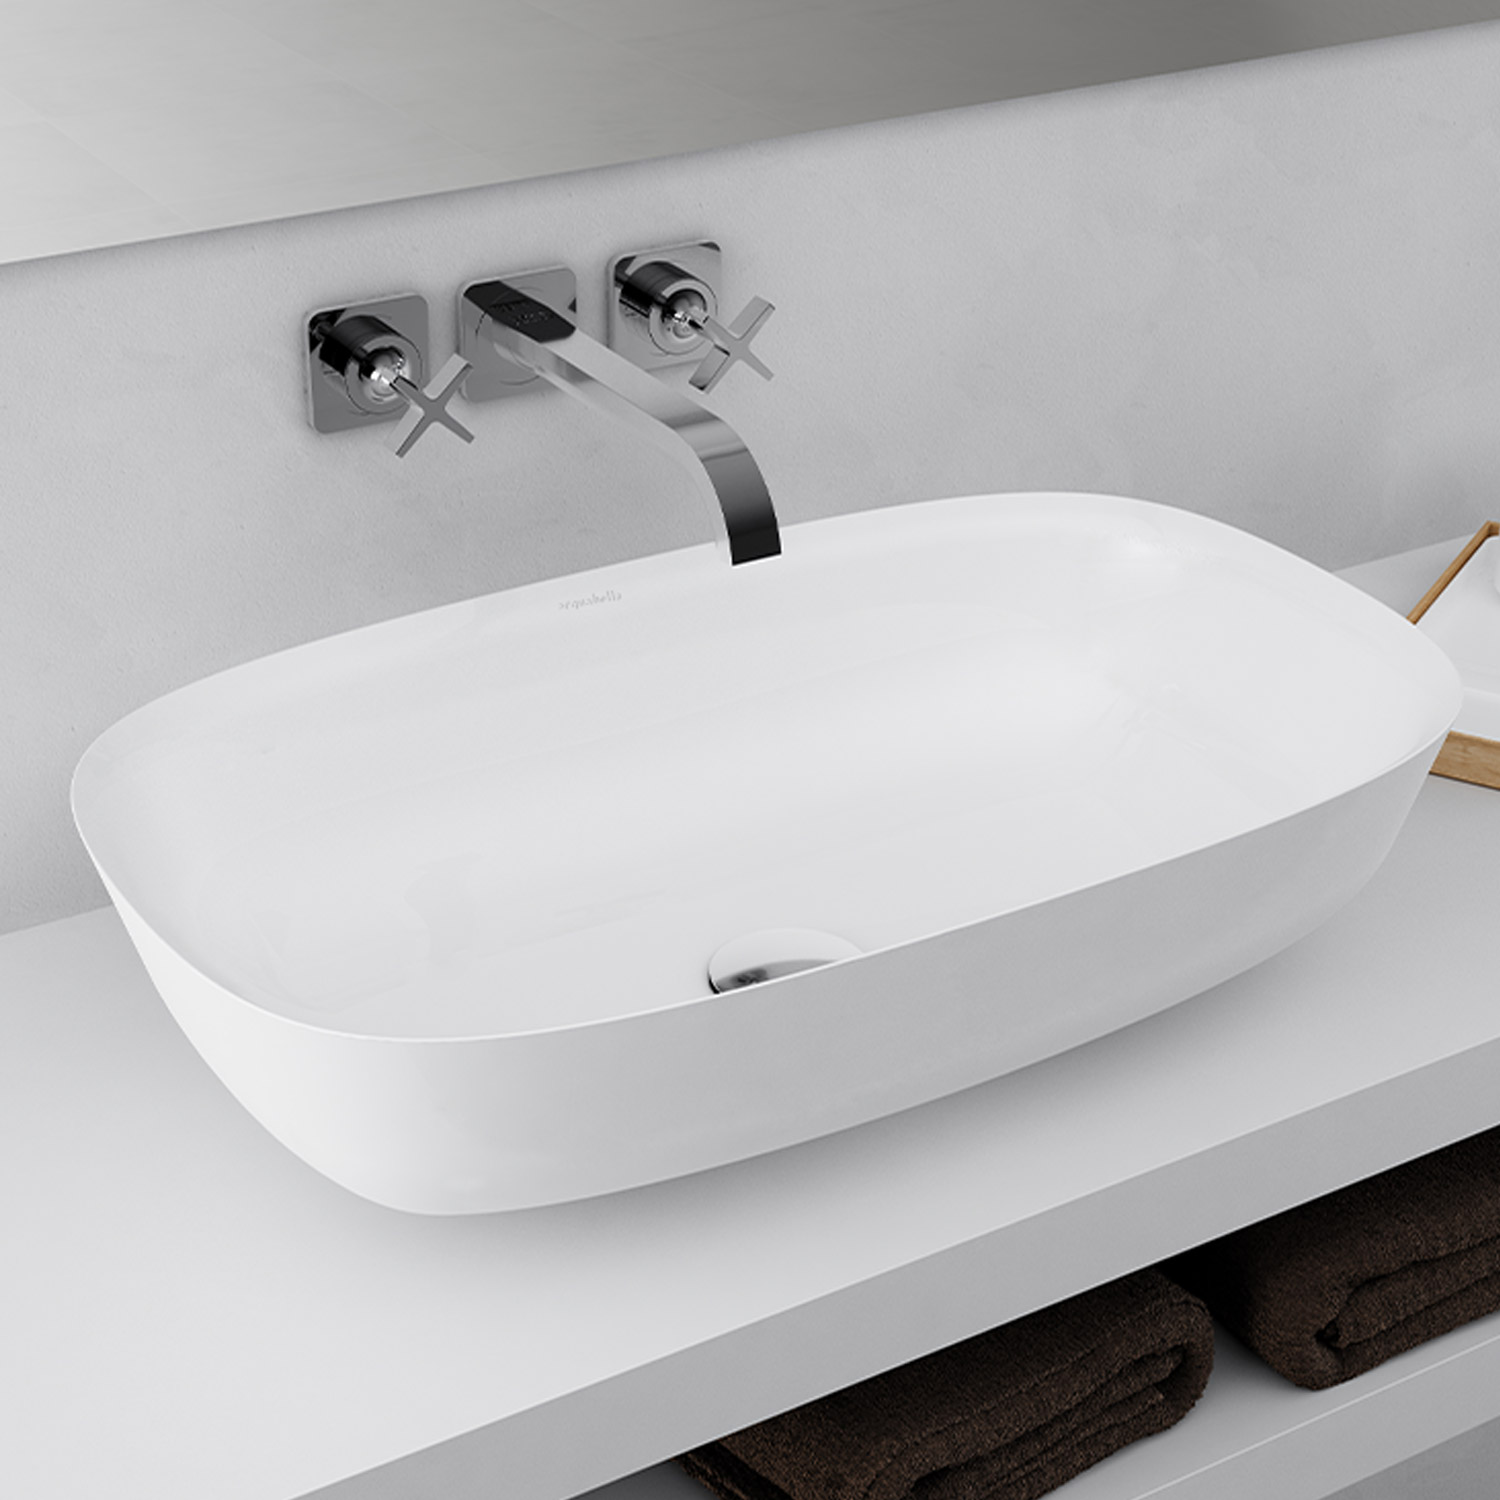
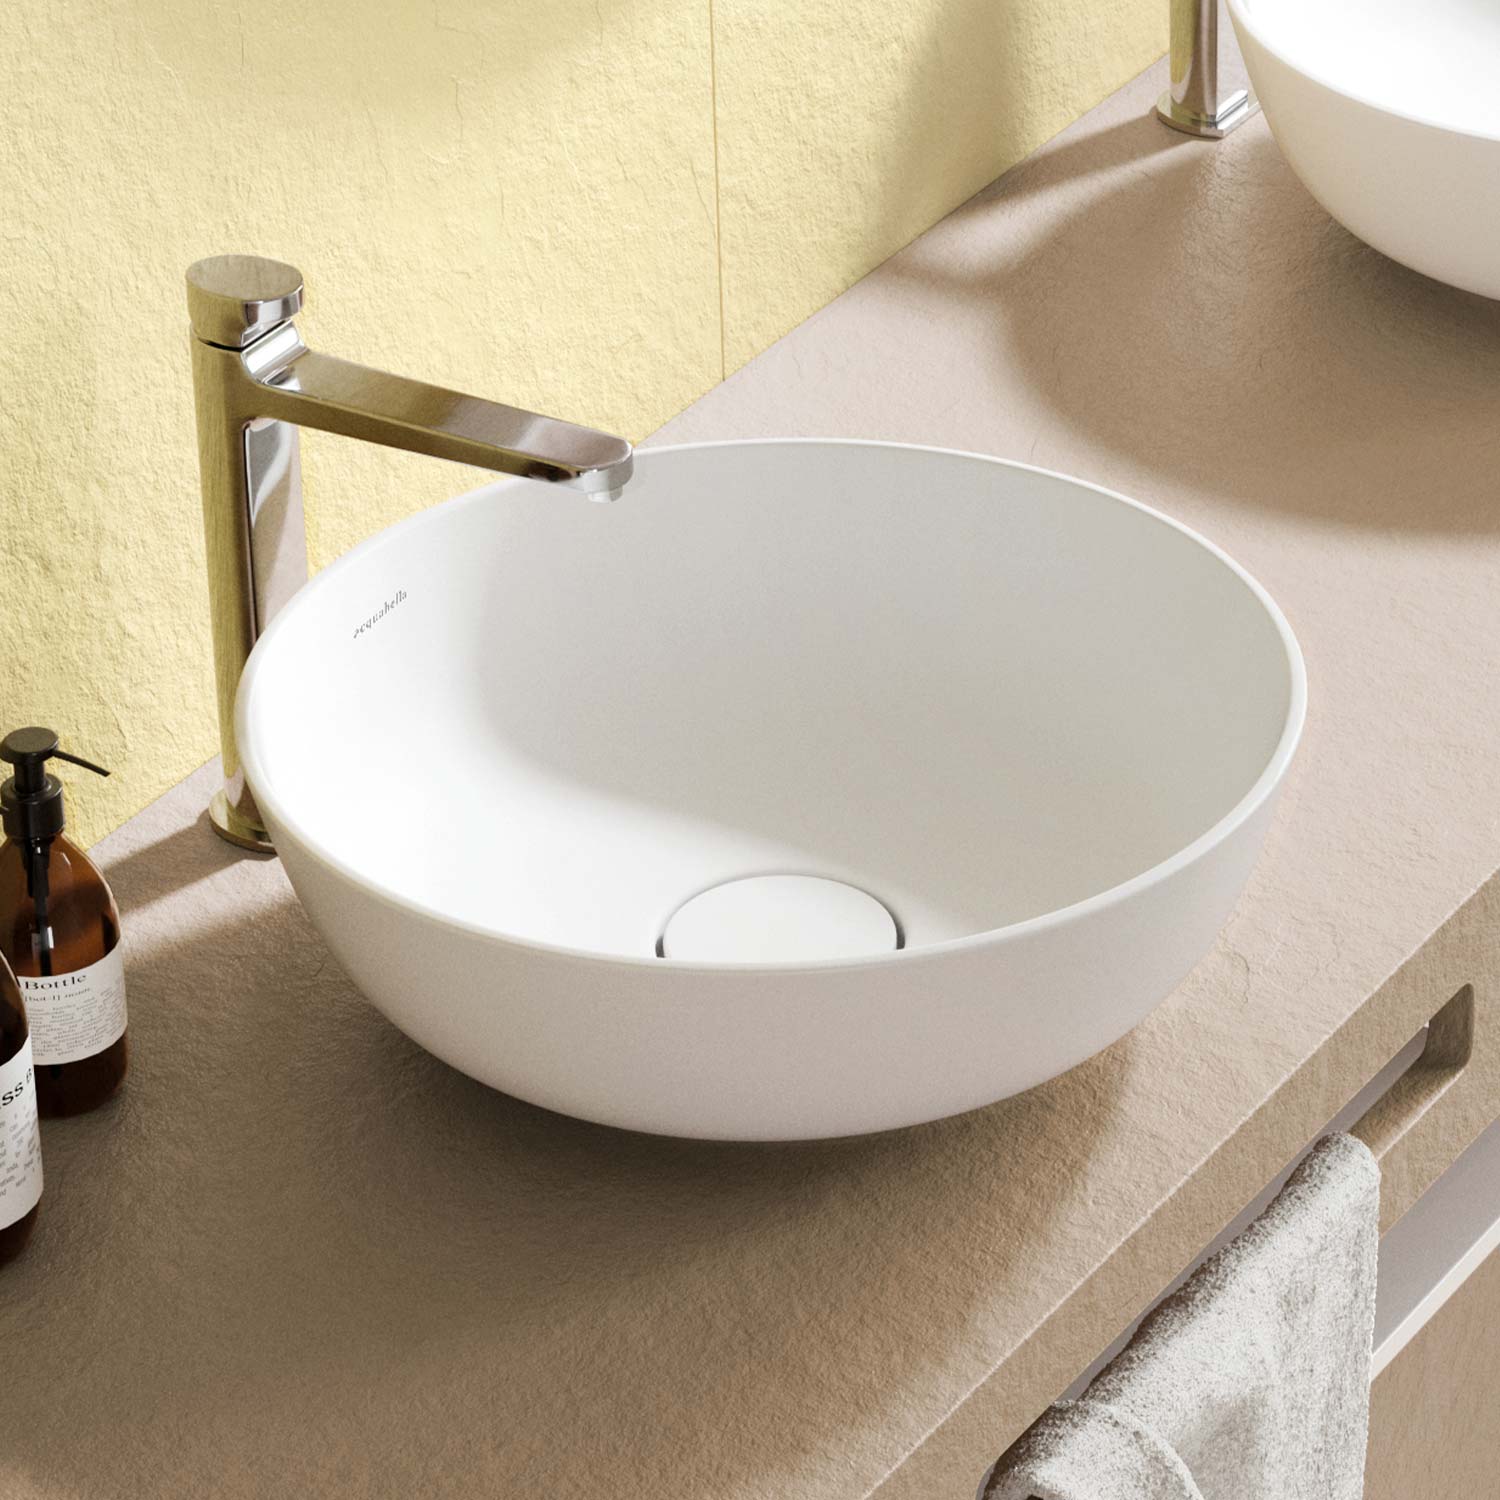
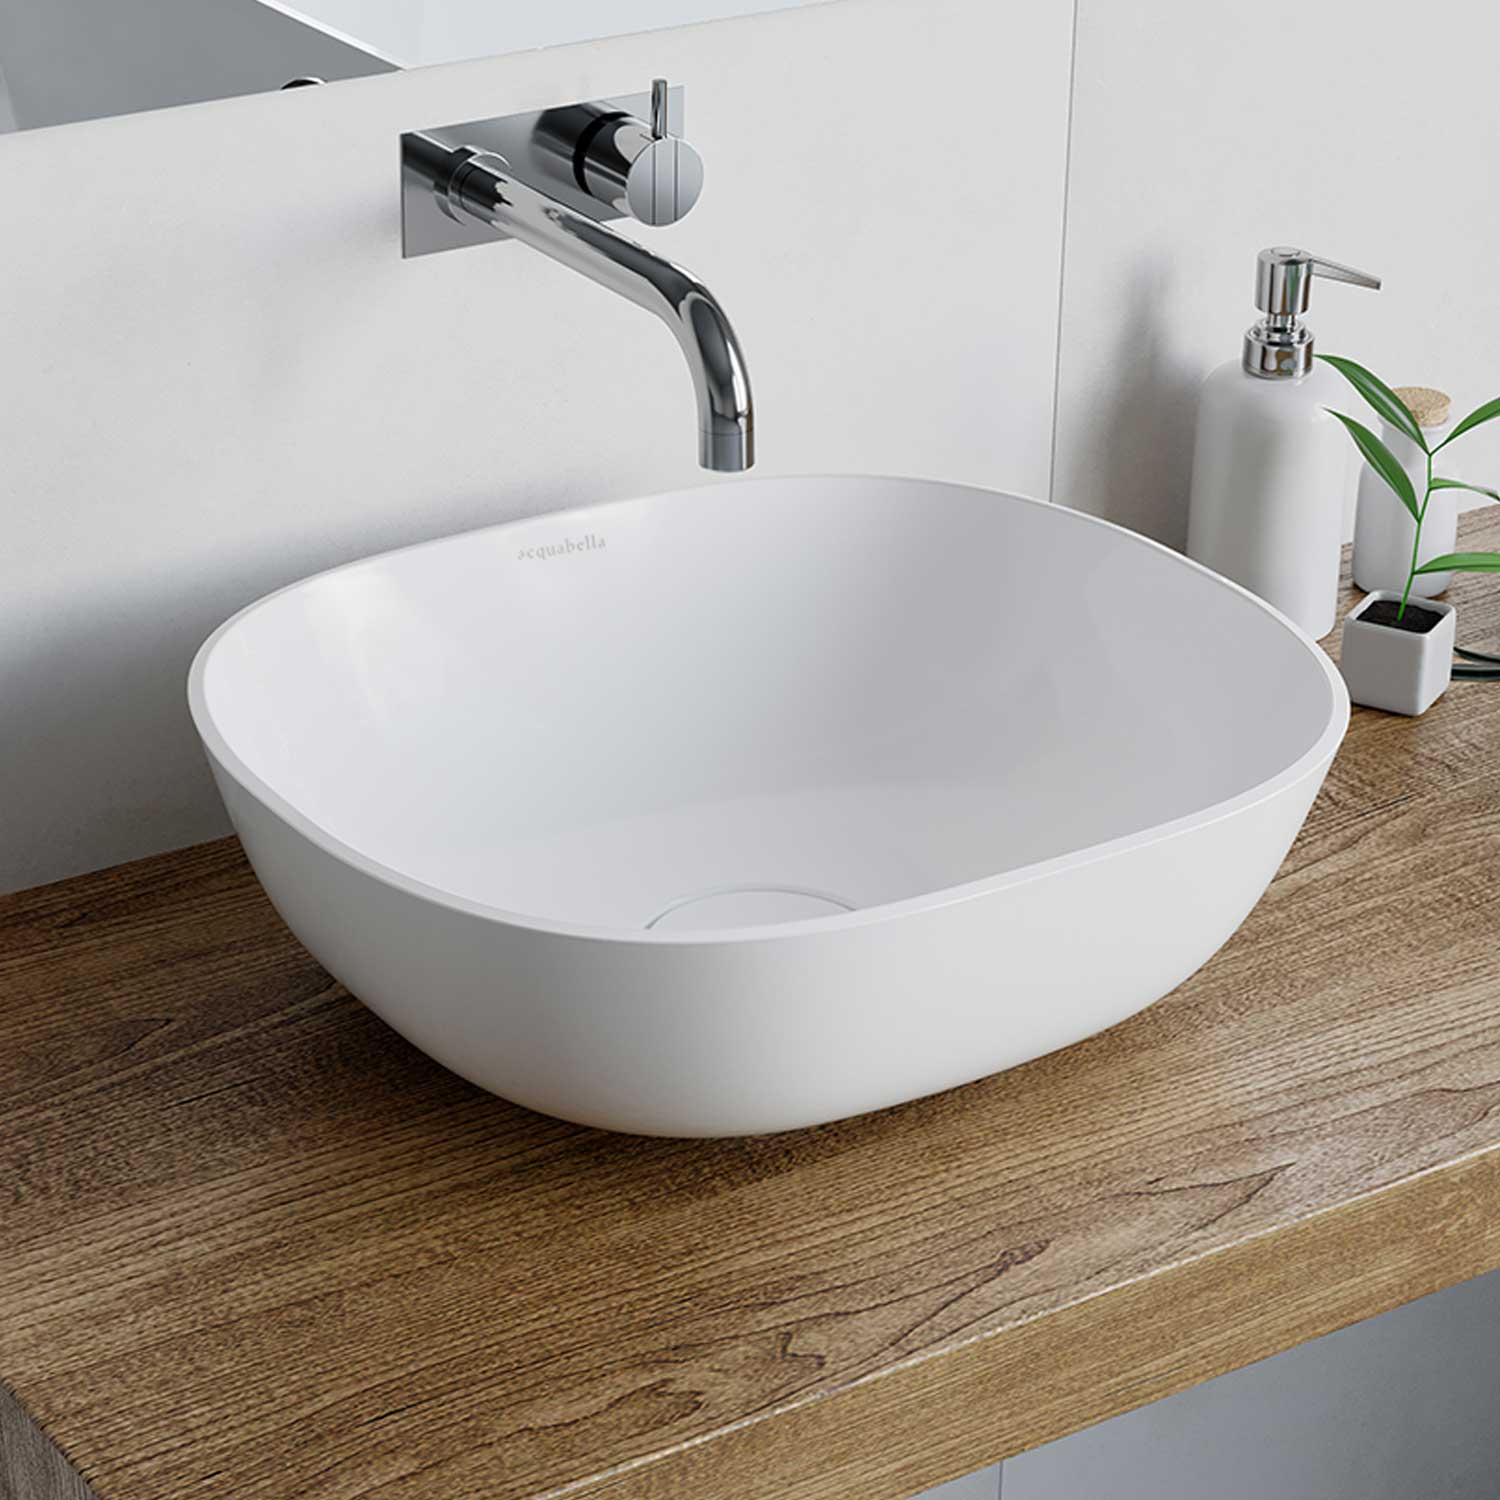
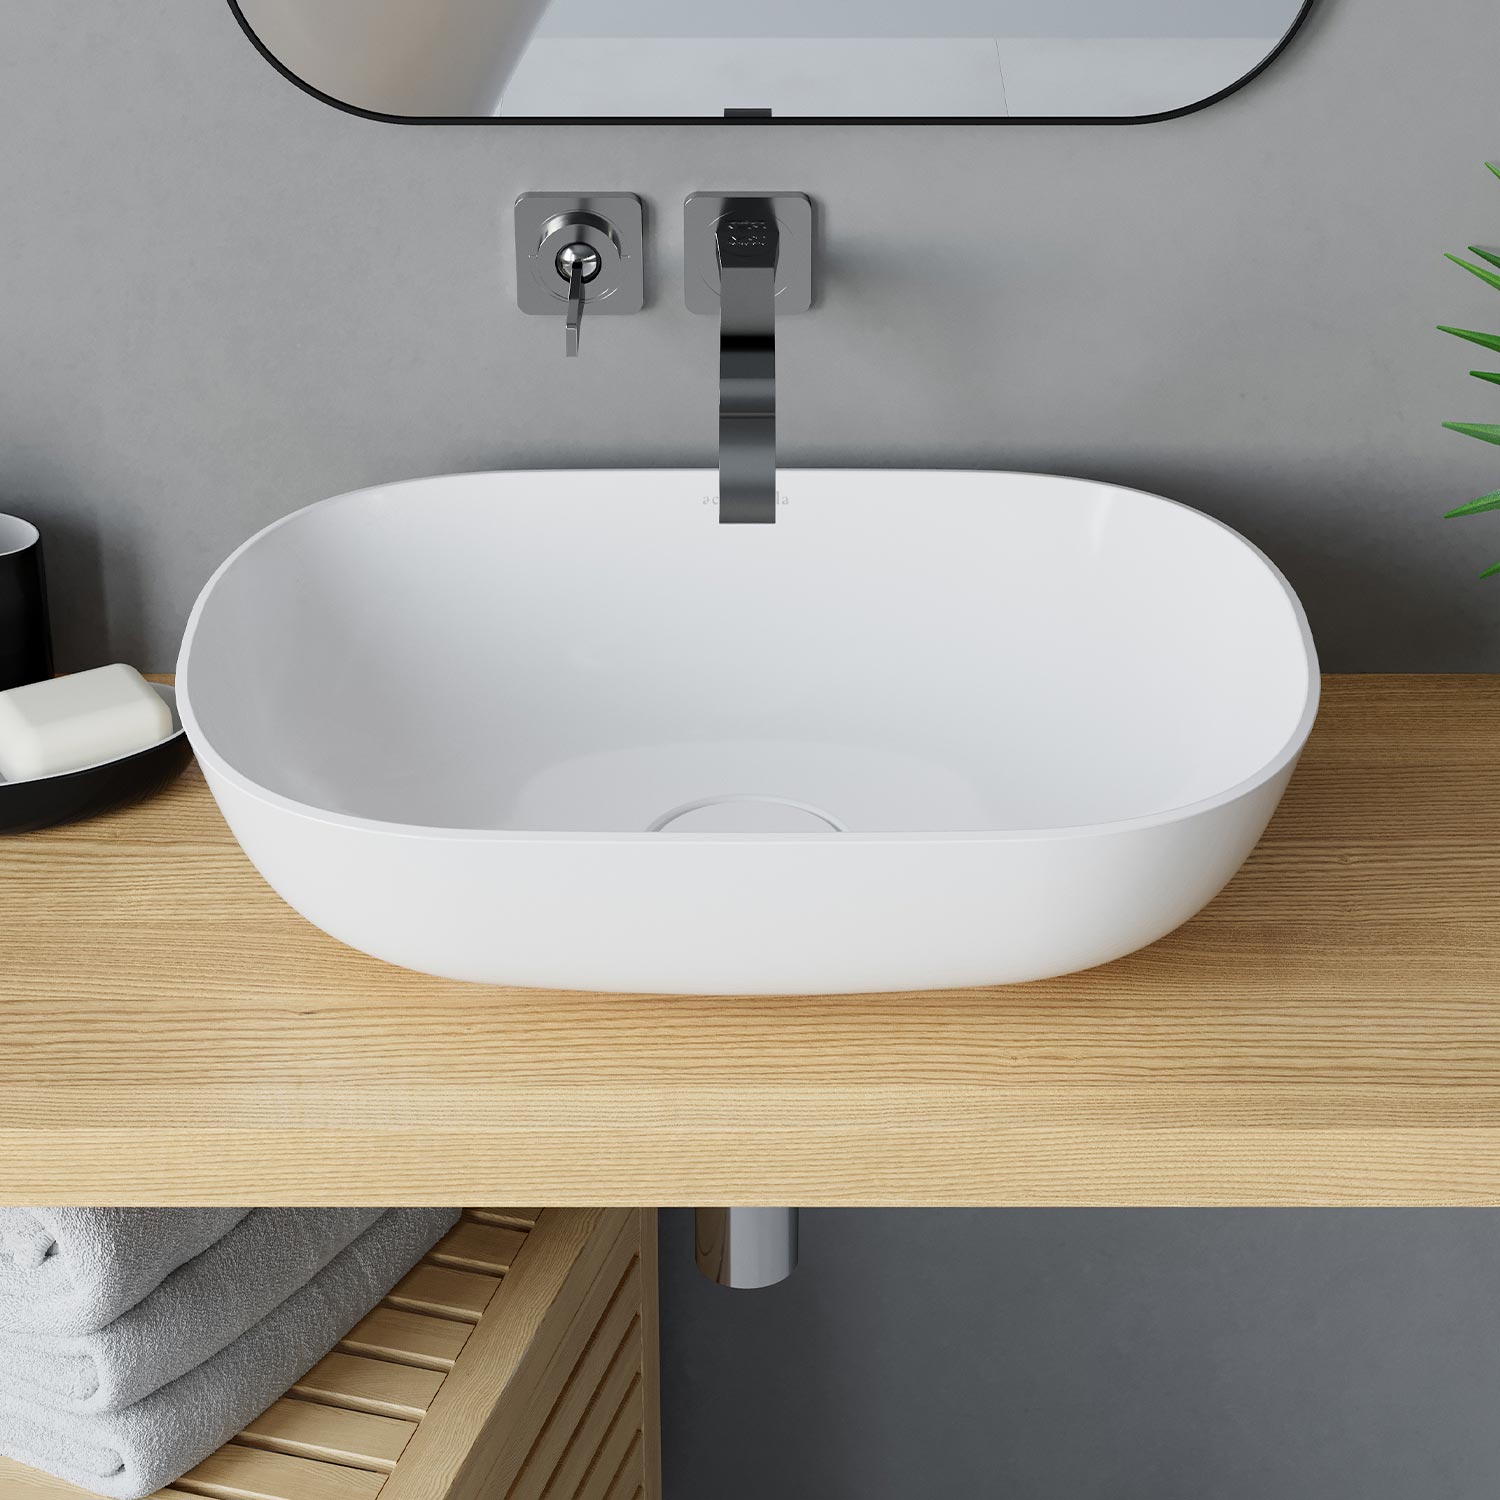
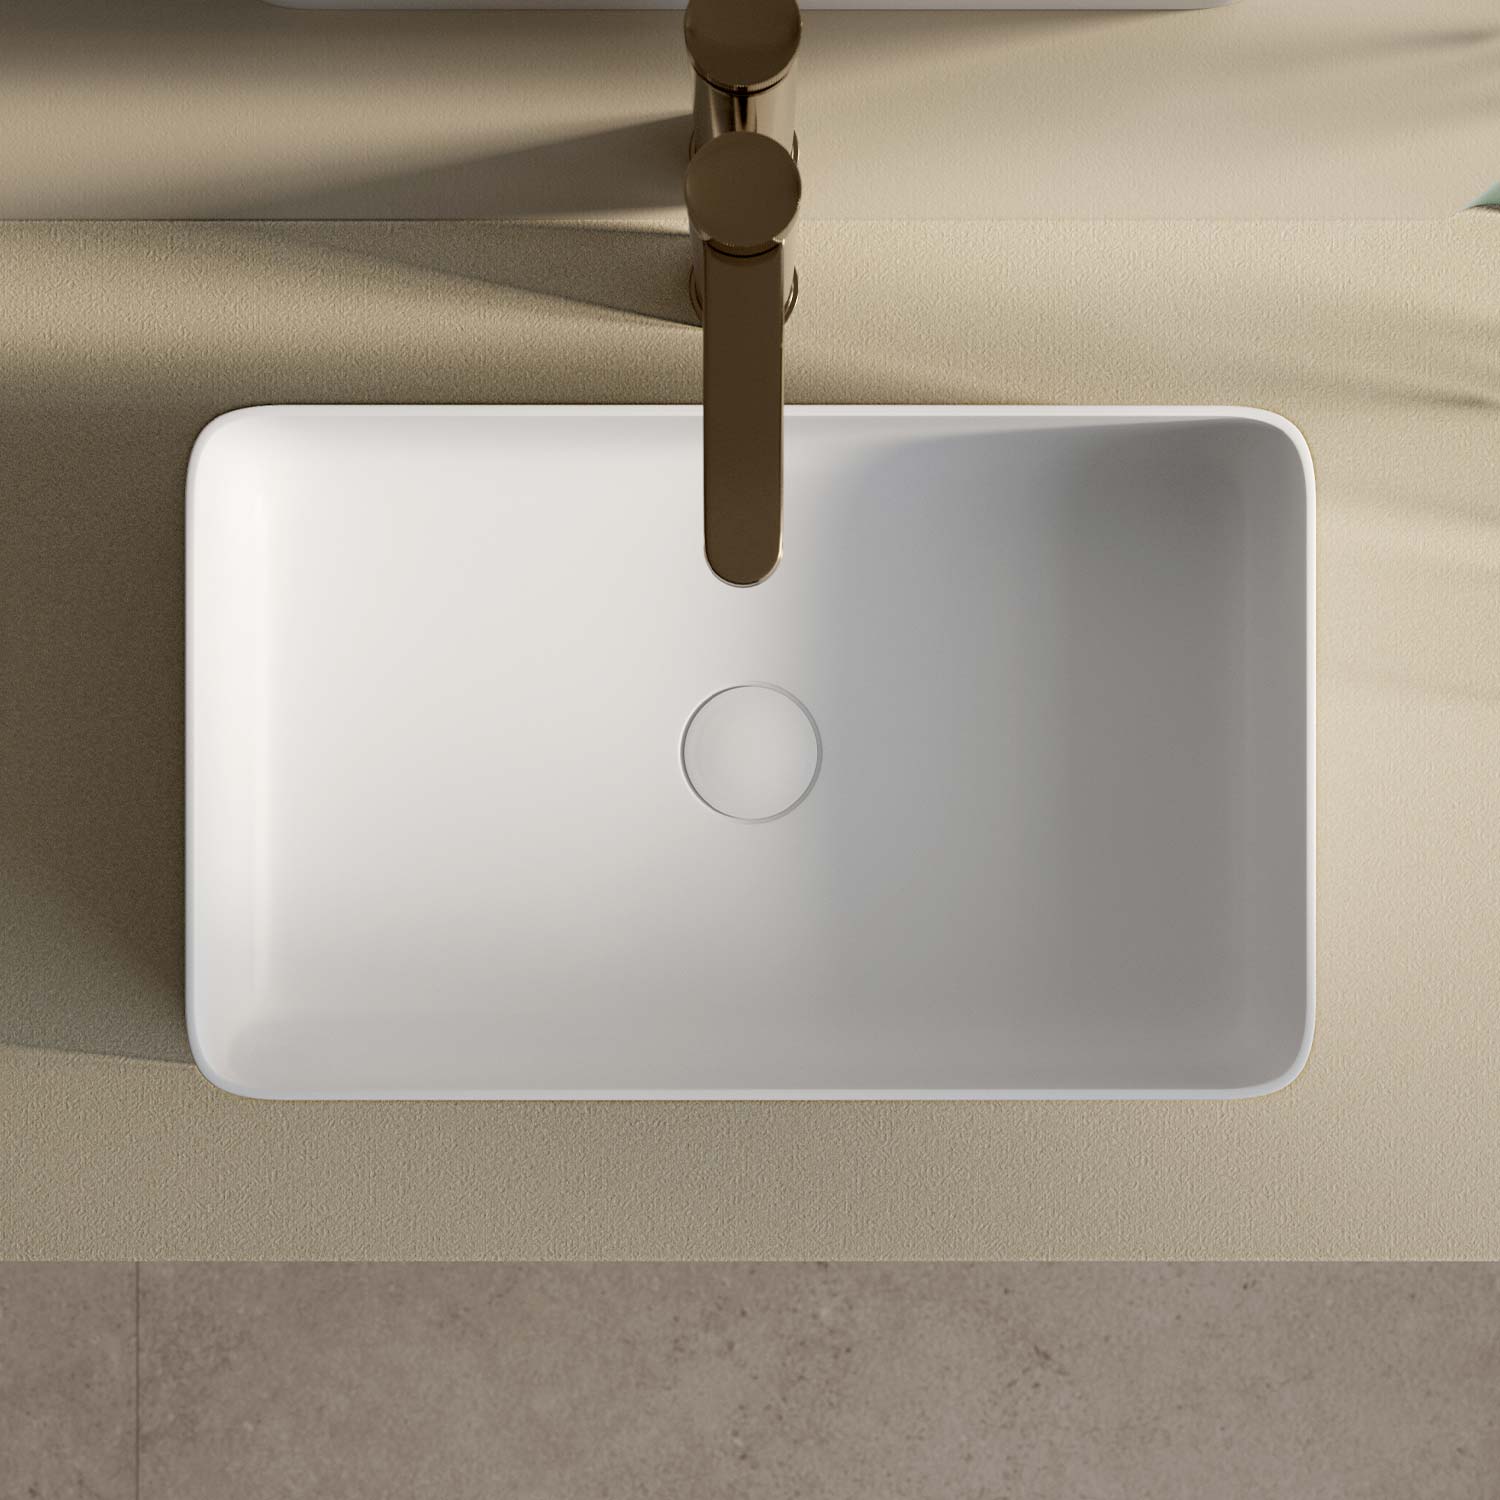
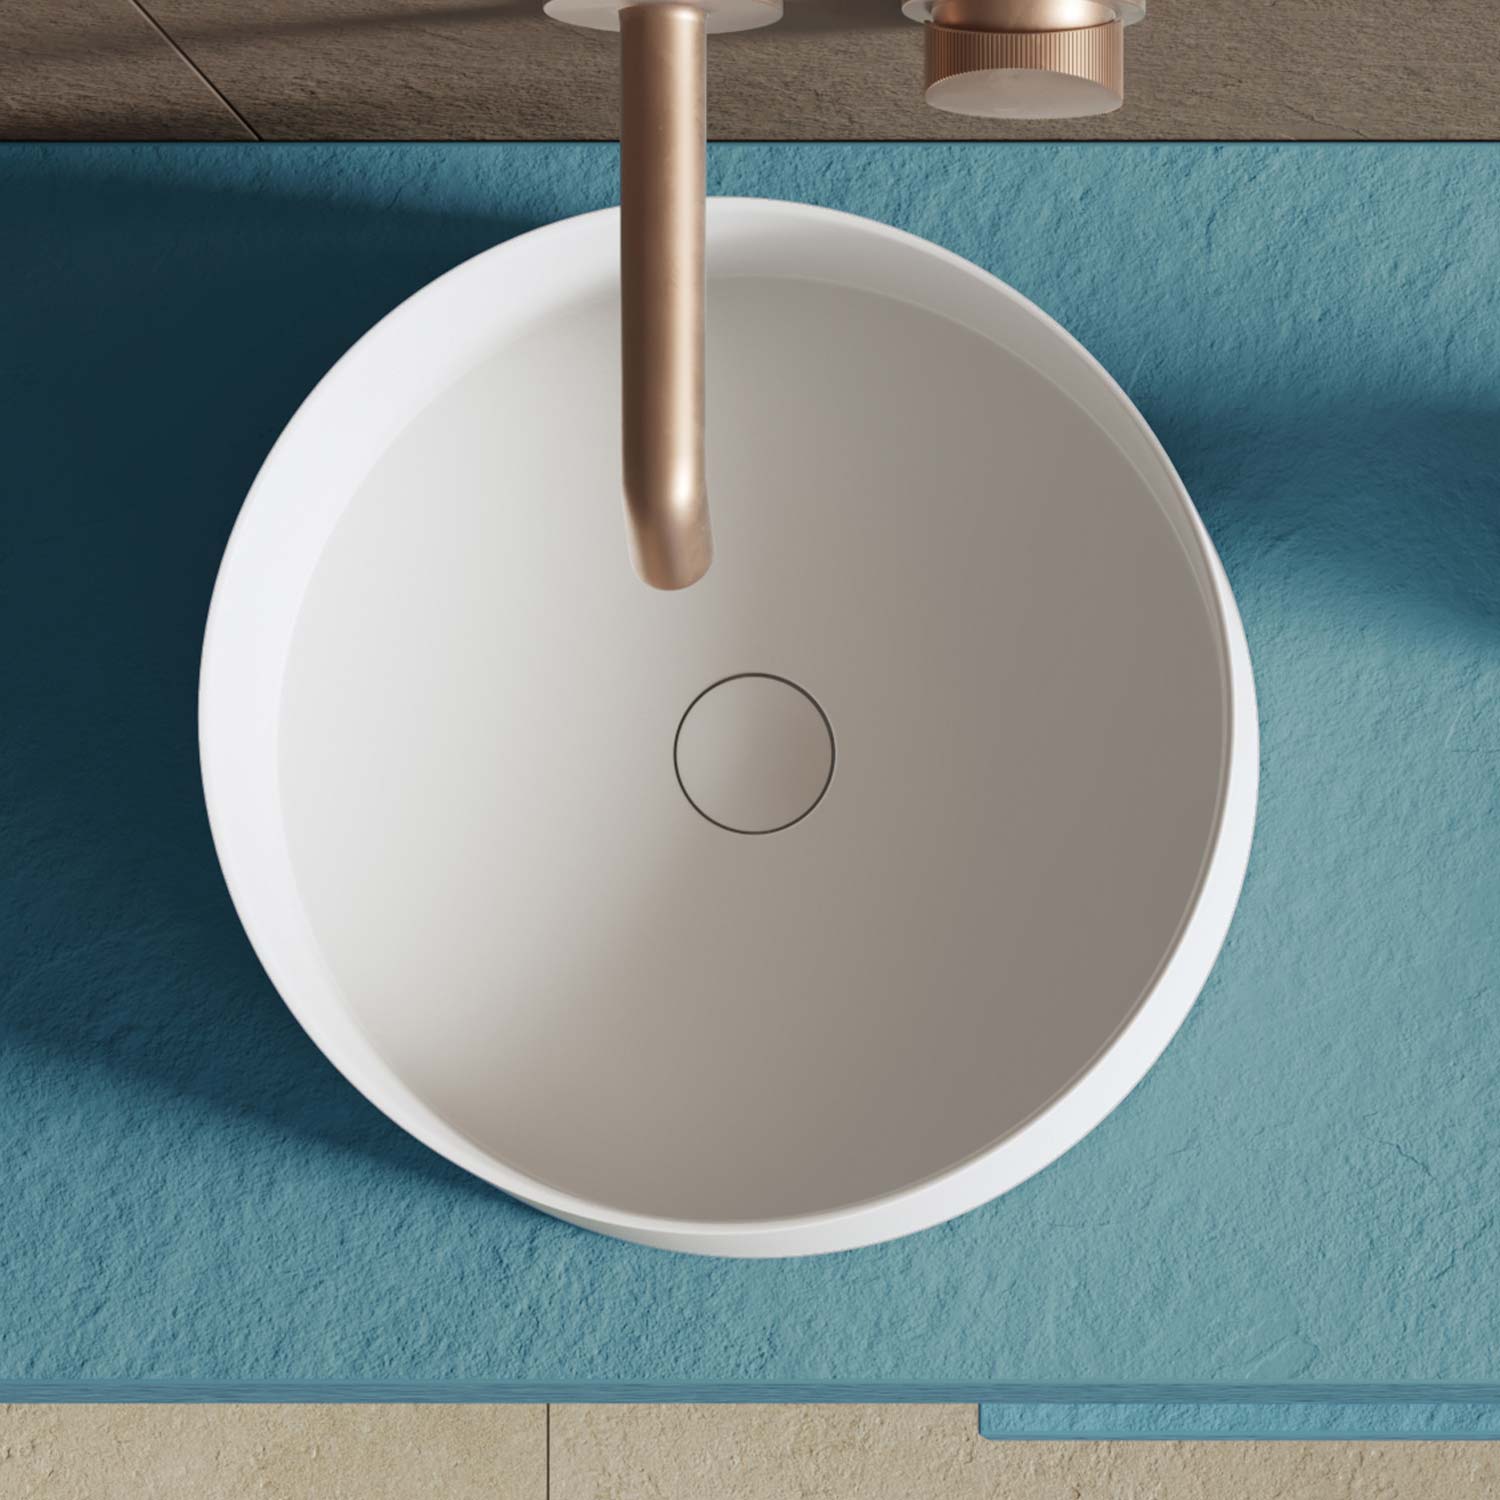
Preparation for Basin Installation:
Before starting with the actual installation, it’s essential to gather all the necessary tools and materials. Here is a basic list to ensure you have everything on hand:
Basin of your choice
Drain valve
Installation manual provided
Recommended adhesive/sealant
Tape measure
Bubble level
Pencil or pen
Jigsaw
Faucet
How to Install Your Countertop Basin Step by Step
1- Preparation of the Installation Area:
Before installing the basin, make sure the surface is clean, level, and free of any obstructions. Place the basin on the countertop to verify its position and mark its location with a pencil or painter’s tape.
2- Hole in the Countertop or Cabinet:
If your cabinet or countertop does not have drainage holes, make the hole following the marks made in the previous step. A jigsaw will be used for this purpose.
3- Basin Preparation:
Inspect the basin to ensure there are no cracks or damages. Clean the installation area on the bottom of the basin to remove any dust or dirt residue.
4- Basin Installation:
Place the basin in the marked location and use the bubble level to ensure it is perfectly leveled.
5- Sealing and Finishing:
Once the basin is securely in place, apply sealant/adhesive around the edges of the basin to prevent leaks and ensure a tight installation. Keep in mind that the choice of adhesive will depend on the composition of the basin, so always follow the instructions in the basin’s installation manual. Clean any excess sealant to achieve a clean and professional finish.
6- Valve Placement:
Once the basin is securely attached, proceed with the installation of the drain valve, following the manufacturer’s instructions closely.
7- Final Verification and Adjustments:
Double-check the basin’s leveling and make necessary adjustments. Ensure that all connections are secure and functioning correctly before using the basin.
Additional Tips:
If you have any doubts during the assembly process, consult the installation manual provided by the manufacturer. These types of guides usually offer detailed and specific instructions for your basin model. Here are the instructions for the On-Top basin collection and the Acquawhite collection.
Make sure not to overtighten the screws during installation, as you could damage the basin or countertop.
With this step-by-step installation guide, you should be able to install your basin efficiently and smoothly. Remember to follow all the instructions provided by the manufacturer and seek professional help if you encounter any obstacles during the installation process. A properly installed basin not only enhances the functionality of your bathroom but also can enhance its overall aesthetics.
For more detailed information on basin installation, feel free to consult the installation manual provided by Acquabella.
Enjoy your newly installed basin, perfectly ready to be the centerpiece of your renovated bathroom!


